
Like us on Facebook | Tag on Instagram: #wintercraftcommunity #wintercraftpics #icewrangler
![]()
As most of you know, I am a fan of saying that one can make an ice lantern in any form—and you would be correct. But, we have heard from many that a 5-gallon bucket is too big and an ice cream pail is too small, so we designed a series of specs for a bucket mold for the perfect ice lantern!
After months of working on it, we're proud to introduce the Wintercraft Ice Luminary Mold (nicknamed "The Bucket"):

What I love about our bucket mold:
1. As I said before, the Wintercraft Bucket is the right size - not too big, not too small.
2. We designed it with a nice gentle taper so they both stack nicely for simple storage and the ice lantern slides out easily, but it is ALMOST straight up and down.
3.The proportions are great. Not only is it not too big, but it's tall for its size, which means it will tower out of the snow—thus be more wind-resistant when using a candle as well as more dramatic.
4. We added a very strong handle for ease of carrying your ice lantern to its freezing location.
5. I personally went through many months of testing multiple iterations based on our specs that we reviewed. Under extreme conditions, I tried to kill our bucket and am pleased to report it stood up to rigorous testing. I added water and froze it solid over and over at -20°F/-29°C. I should add that I did not let the bucket's plastic rest in between freezings. I filled it with water, put it in my freezer for 2 days, released the frozen-solid ice chunk, filled it with water again and back it went into the super cold freezer. I felt bad about it, but it had to be done.
6. This is a subtle one, but the ridges are flat enough that it works with all the bucket mold projects in my book, but when you make a plain ice lantern, a cool prismatic impression is left in the ice.
7. And finally, it has a lid! But, not just any lid. This lid is easy on - easy off, and doesn't blow off in the wind.
Why is a lid so important?
Traditionally, one flips over a finished ice lantern and uses the large opening in the ice as the chimney. It's easy and many people do it. The problem lies in that fact that an uncovered bucket means that the top of the the ice lantern is the coldest spot and thus that part of the ice lantern becomes the thickest. So, when you flip the ice lantern over, that thick top now becomes a thick bottom. Add the candle and its half way to the mouth of the ice lantern - very close to the wind. A gentle breeze with blow it out.
If you add the lid to the bucket while it's freezing, the ice under the lid will be thinner. When you flip the finished ice lantern and add your candle, it will be much lower and farther from the wind.
TIP: I'll add a gentle suggestion to add a floating candle to a flipped ice lantern, as a regular candle will eventually drown in the melting ice.

If you're looking for step-by-step instructions for how to make ice luminaries using our bucket mold, look no further! You can click here to view or download our product instructions, included with every bucket mold.
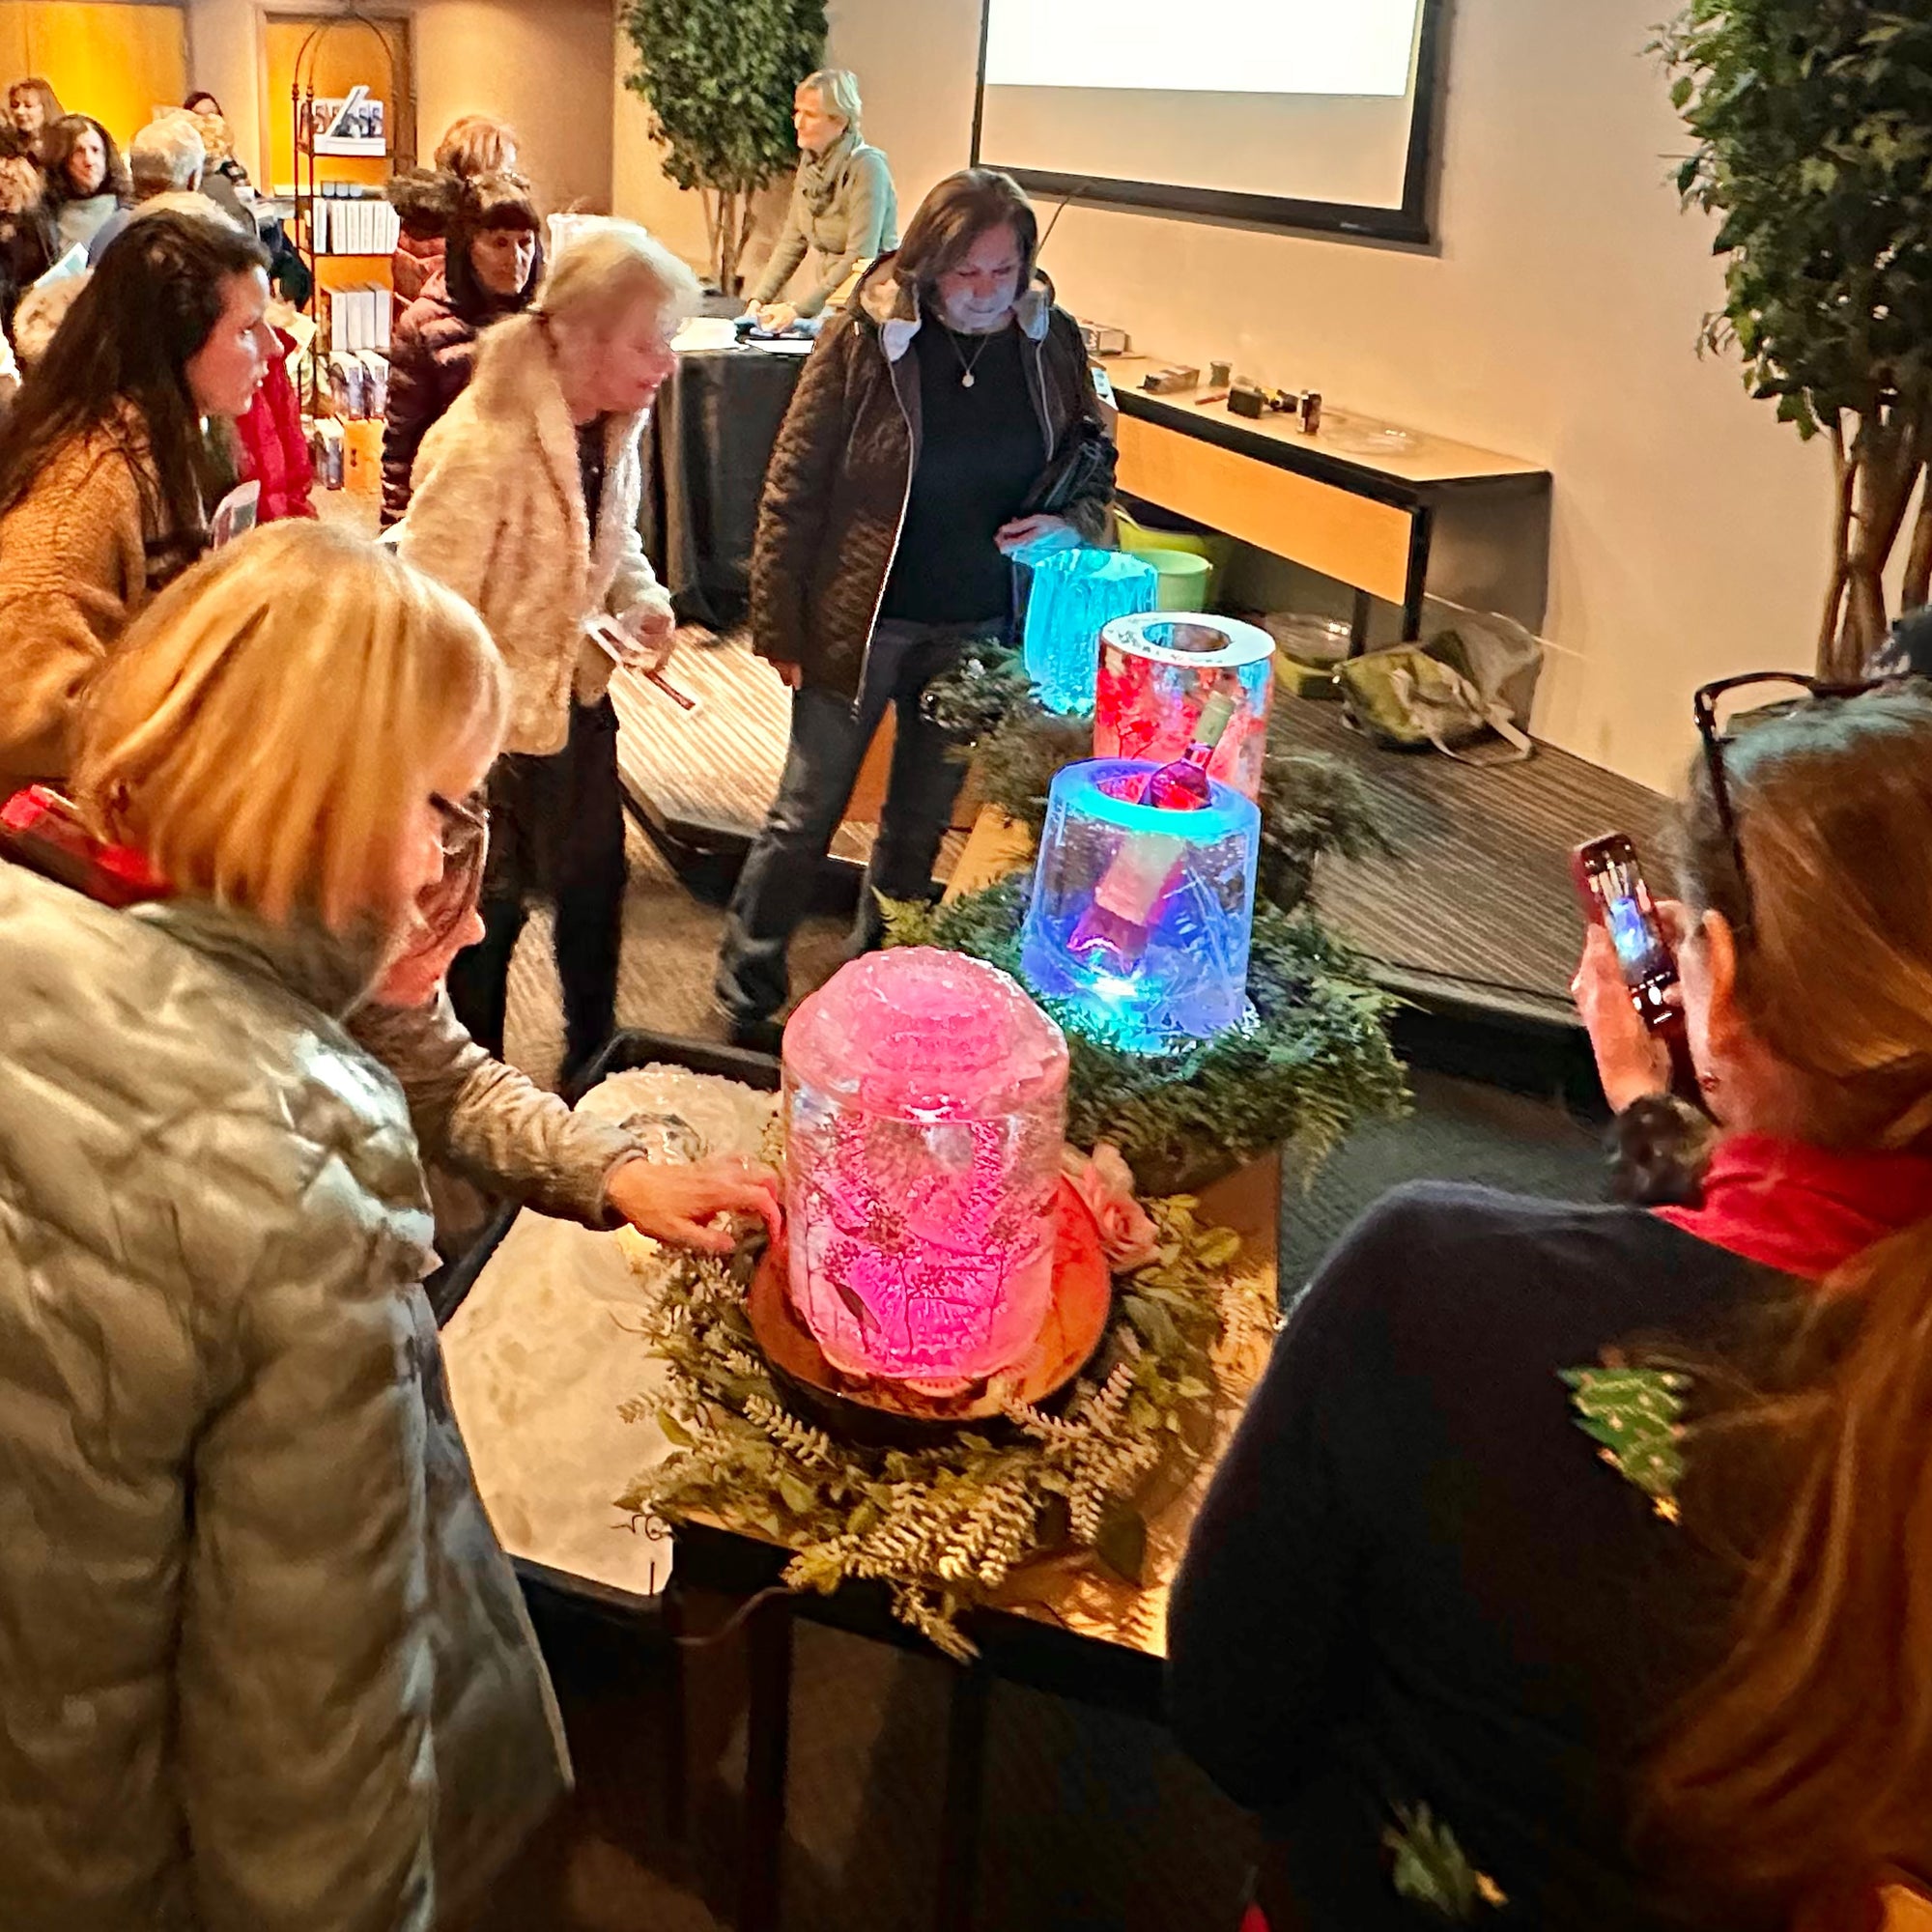
And now let's talk about that opening photo with an amazing Doormat Ice Lantern set up as a wine chiller! I love making Doormat Ice Lanterns—especially in this new bucket. It can be daunting to cut the doormat to the right size, so I have made a template that you can download. Then piece it together to create a pattern to use to cut out a piece of doormat that fits in our new bucket mold—just right! FYI - The directions for making a Doormat Ice Lantern are on page 113 of my book, Ice Luminary Magic.
Here's the pdf for the Doormat Ice Lantern Insert Template
The instructions for making the insert are printed on the pdf, but I will add them here, too:
Keep in mind that this template is sized for use in the Wintercraft® Bucket Mold.
It is helpful if your final doormat piece is SLIGHTLY longer than you think you need. The more snug the fit, the more the doormat will hold itself upright in the bucket.
1. Print the pdf’s at full size. (Note the scale marker should be 1” long)
2. Cut off 1/2” (where indicated with dashed line) along the left side of #2-#5.
3. Match up “A” from #1 to “A” on #2, and “B” from #1 to “B” on #2. Then tape together with clear tape.

4. Match up “C” from #2 to “C” on #3, and “D” from #2 to “D” on #3. Then tape together with clear tape.
5. Match up “E” from #3 to “E” on #4, and “F” from #3 to “F” on #4. Then tape together with clear tape.
6. Match up “G” from #4 to “G” on #5, and “H” from #4 to “H” on #5. Then tape together with clear tape.
When you are done, it should look like this:

7. Cut out the template along the outline with scissors.

8. Lay the template on your doormat and put small pieces of duct tape along the outside of the template. (Added info: I use duct tape as its hard to mark the rubber. Also notice that I put one edge of the template on the edge of the doormat. I like to do that so there is one solid edge, but you don't need to do that. You might also notice that the template is slightly longer than the doormat. As I will probably be cutting off extra when making the final adjustments, it does not matter.)

9. Cut the doormat inside the pieces of tape. IMPORTANT: Cut* the doormat LONGER than you think you need and cut down to size as needed. Every door mat is different, so if you cut it longer, you can make sure that it is a snug fit. *I have used strong pair of scissors to cut the rubber, but an oscillating saw with a fine blade and a scrap piece of wood underneath works, too. (Added info: Notice that I did not bother to cut the doormat where it would fall off anyway.)

10. Roll the piece of doormat up and put it into the bucket with the short side down. Unroll as you push the doormat down so the bottom edge of the doormat is in contact with the bottom of the bucket.

11. If the doormat is all the way to the bottom and there is some overlap, use the duct tape to mark where to cut off the extra doormat material. Always leave more than you think you need as once you have cut it off, you can’t add it back on. Consider cutting off small amounts at a time.

Push it down and open so it fits as snug as possible. A snug fit will help to keep the doormat insert upright in the bucket. See how it I pushed the pieces to fit against the solid edge of the insert. You can also see that I cut one piece too short and there is a gap. But the other pieces will hold it together.

12. Make a Doormat Ice Lantern according to the directions on page 113 of Ice Luminary Magic!
If you choose to remove the doormat when you are done and do so gently, you will be able to use this insert over and over again! FYI, we've heard from many that they love the silhouette created when leaving the doormat on when displaying the ice lantern. Personally, I love both options!
Enjoy the Glow!
-- Jennifer Shea Hedberg, The Ice Wrangler, @icewrangler
***
©2021 Wintercraft. All Rights Reserved. This blog post may be linked to and credited, however, the contents including all photos, videos and text may not be reproduced in any form without written permission.
Where do you source the doormat? I’ve had trouble finding one.
Comments will be approved before showing up.


22 January, 2022
Tom Hedberg
Deb: We’ve had luck at Home Improvement type stores, both the large national chains and neighborhood hardware stores. I’ll ask Jen if there is a particular place she’s had more luck and she can reach out. Thanks!