
Like us on Facebook | Tag on Instagram: #wintercraftcommunity #wintercraftpics #icewrangler
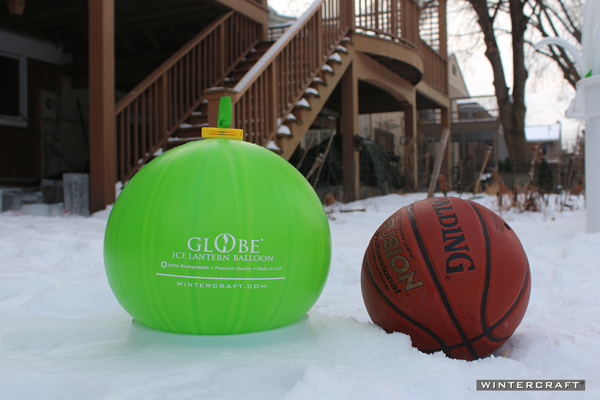
I am excited to write that cold weather has descended around us (in Minneapolis, MN) but not before Mother Nature also provided us with a beautifully insulating blanket of snow. It is the combination of cold, snow and Wintercraft supplies that allow people to make Globe Ice Lanterns - the easy way!
With any new craft, it would feel overwhelming to hear about all the little nuances that can change the outcome of your project before you even get started. So before reading this blog, I would like to recommend this earlier blog on Wintercraft Globe Ice Lantern Basics, then come back and read on.
This blog will discuss some of the little things that can change the way your Globe Ice Lanterns look, function and last.
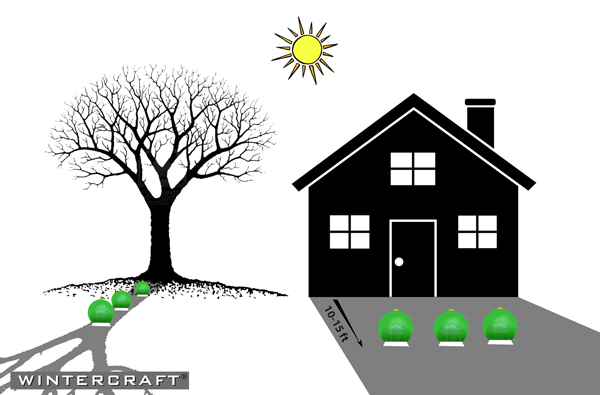
TIP #1 - The best place to put water-filled balloons to freeze is a location where they can be in the shade for the majority of the day. The thaw/re-freeze action that can occur from placing a water-filled balloon in a very sunny spot to freeze can sometimes cause the latex of the balloon to fail—especially with larger globes.
TIP #2 - Water-filled balloons should not be placed on stone or decking as it could hasten the bottom freezing - unless the outside temps are in the warmer freezing ranges, 20-32°F/-7-0°C. When it is that warm . . .
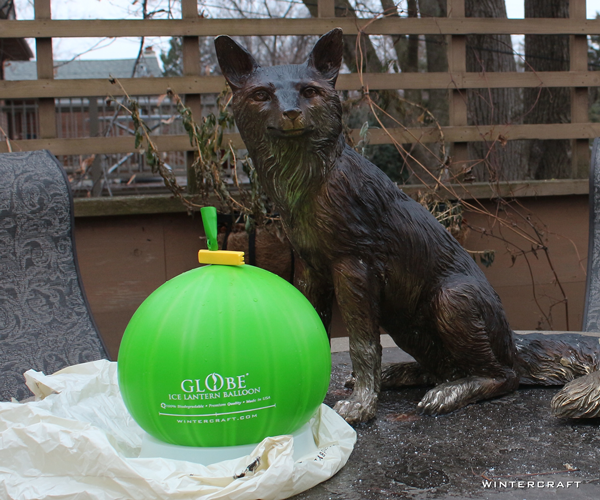
. . . I do place my water-filled Globe Ice Lantern Balloons on decking or stone work with a plastic wrapped insulation disk underneath. Why? Usually a deck or stone work would make the bottom too cold and make the bottom of the globe ice lantern freeze closed, but when it is warm, the ground goes beyond just an insulator and becomes a heater which slows the rate of freezing for the entire globe.
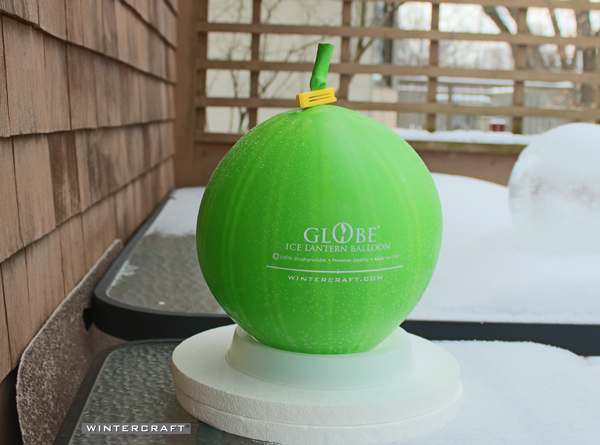
TIP #3 - Snow acts as an isulator, so it should be under the balloon's freezing base, but try to brush any snow away from the top and side surfaces of the balloon while it is freezing. Anywhere snow touches a Globe Ice Lantern as it's freezing, could keep it from freezing.

TIP #4 - Place water-filled balloons at lease a foot apart from each other while they are freezing, as the heat from other balloons could cause the unfrozen cavity of the balloon to be off-center. In fact, a fun science experiment to try with kids involves placing two water-filled balloons right next to each other so they are touching or "kissing", when they are opened, the central cavities will be kissing as well.
TIP #5 - An off-center cavity can also be formed if you place your water-filled balloons too close to the house or other heated structure while they are freezing. I like to place them at least 10-15 feet away from anything producing heat or changing the temperature in any way.
There are several things right about this photo and several things wrong:
Right A - Using Wintercraft products!
Right B - Used a styrofoam base when the globe has not been placed in the snow or ground.
Wrong A - Too close to the house!
Wrong B - This was a forgotten globe that was let freeze too long. See how it has lifted out of the base. It is frozen solid - bummer. It can still be used, but it is easier to set a timer for yourself on your phone and rescue it before this happens.
TIP #6 - How to use an off-center cavity? If you have a situation where you are building a larger ice structure and need to access your globe ice lantern from the side, having a side hole comes in handy. Then you would want to place two or more water-filled balloons right next to each other. You can even push them together to create a larger multi-globe lantern which is very cool!
***
©Wintercraft. All Rights Reserved. This blog post may be linked to and credited, however, the contents including all photos, videos and text may not be reproduced in any form without written permission.
Comments will be approved before showing up.